The single biggest cause of revision rounds in custom jewelry is not bad taste. It is bad reference photos. A client sends a screenshot of a ring seen at a restaurant, a blurry photo of a grandmother's ring taken in a carpark, and a Pinterest pin under harsh office light, and asks us to combine them into one piece. We do our best, but we are inferring proportions from images that were never meant to be technical. Spend ten minutes taking proper reference photos and you skip two or three revisions, save bench time, and end up with a ring that matches the picture in your head on the first attempt.
You do not need a camera. Modern phone cameras are more than good enough. What you need is light, angle, and scale. Start with light: never use the overhead light in a room, because it glares off metal and produces hard shadows. The best free light source is a window on an overcast day, or a few feet away from a window on a bright day. Set the piece on a white piece of paper and shoot from above and from a 45-degree angle. Avoid direct flash, which blows out highlights and makes stones look like flat dots.
Angle matters because a ring looks completely different from above than it does from the side. For a piece you want to replicate, send three photos: straight down onto the top of the setting, a straight-on side view that shows the profile and the band width, and a shot held at an angle that shows how the stones sit relative to one another. If you are referencing a Pinterest ring, save the original image in the highest resolution you can - screenshots compress detail, and the difference between a 500-pixel image and the original is the difference between guessing and knowing the prong style.
Scale is the missing reference in almost every set of photos. A ring held in the palm of a hand tells us nothing about its real size. Put a coin, a ruler, or a US quarter next to the piece in one of the shots. That single object in the frame lets us read the actual diameter of the center stone, the width of the band, and the length of the pendant on a necklace. Without it, we are estimating. With it, we can draft to scale on the first CAD.
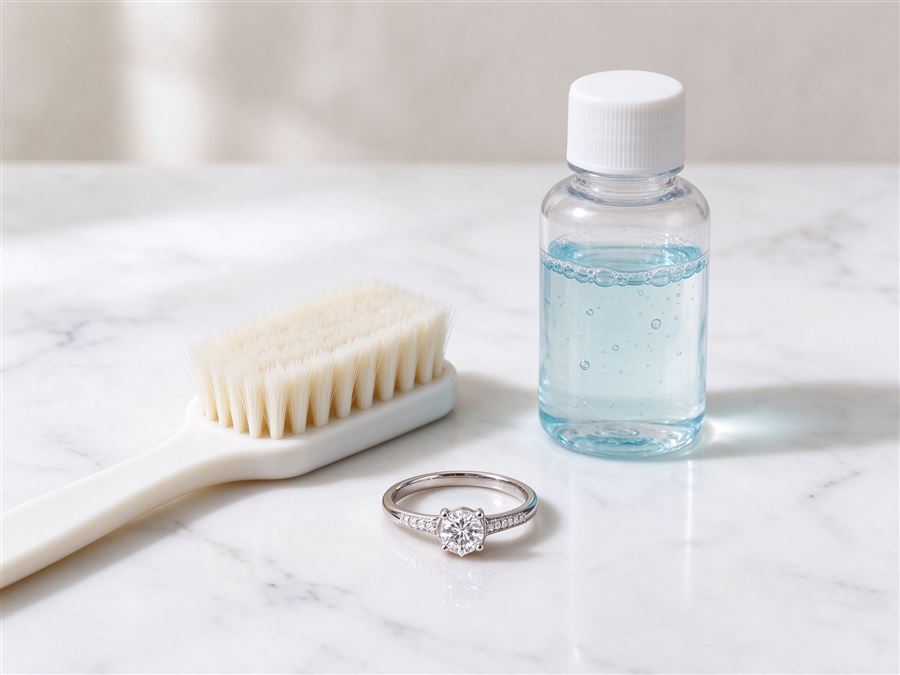
If the reference is an heirloom you physically own, photograph it clean before you shoot. Fingerprints and lotion film make metal look darker and stones look duller, and you may think you are sending a reference for a dull gray ring when the actual piece is bright white gold. Wipe it with a soft cloth first. For a piece you love in a store, ask if you can photograph it at the counter - most jewelers are used to this, and a straight-on top shot plus a side shot is enough for us to understand the design.
Sketches and written notes are reference material too. If you have drawn your idea on paper, photograph the sketch flat, in good light, and add a sentence describing what you meant by each arrow. We read sketches as intentions, not as engineering drawings - the intent is what we need. And when you describe the feeling, not just the shape, you give us room to solve problems you did not know you had. This is the same instinct we talk about in our guide to briefing a bespoke jeweller and our notes on turning Pinterest inspiration into a real ring: the more honestly you describe the emotional target, the closer the first design lands.
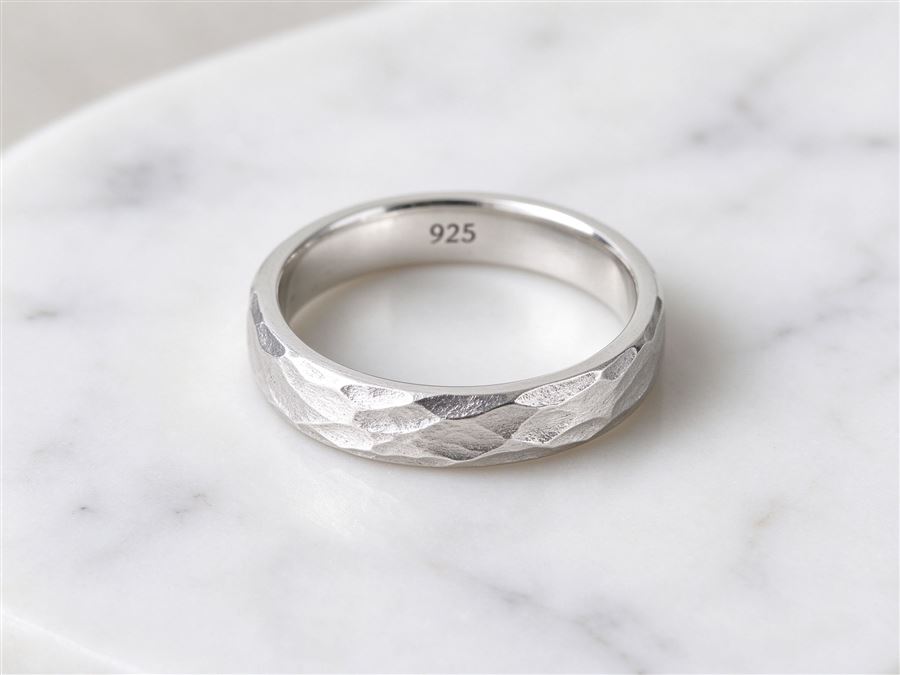
What to avoid: filters, selfies with the ring on your finger taken in a mirror, and photos under restaurant or candlelight. All three distort color and scale. If you love a ring in gold but the photo makes it look rose-colored, tell us - we will assume yellow gold and confirm, rather than trust a warm light source. And if the piece you love has a certificate or a visible hallmark, photograph that too. The stamped metal mark on the inside of a band tells us what it is actually made of, which matters when we are deciding what to bring to your consultation.
Finally, send more photos than you think you need. Ten well-lit angles take you two minutes. Three rounds of CAD revision take two weeks. The reference set is the cheapest insurance in the whole process. We would rather receive forty photos of a family ring than a single heroic shot, because every extra angle is another detail we do not have to guess.
Treat your reference photos like a design file, not a text to a friend. Good light, a coin for scale, three honest angles, and a sentence of context. That is the whole trick, and it changes the commission from a negotiation into a translation.