You said yes. The ring is on your finger. You pull out your phone, point it at the stone, and what comes back is a washed-out mess: a bright blob, a shadow, your own reflection in the table. This is not your ring's fault. It is the lighting. Photographing a small, reflective, faceted object is one of the hardest common phone-photography problems, and almost everyone stumbles through it once. Here is what we have learned, watching clients photograph their own rings for years, that makes the next attempt look like the ones you see on real accounts.
The single most important rule is light, not angle. A ring shot taken in soft natural light will beat a ring shot taken with a flash every time. Find a window on an overcast day, or stand in open shade on a sunny morning, and let that light fall across your hand. Direct midday sun is too harsh; it creates hot spots on the metal and deep black shadows between the prongs. A ring photographed in soft window light shows the facets, the metal finish, and the color of the stone, all at once. If you are curious why some stones photograph differently under different light, our guide to moissanite versus diamond touches on how each material reacts to the light you give it.
The second rule is to get close, then back off. Modern phone cameras have a macro mode or a portrait mode that lets you focus on the ring while softening the background. Tap the screen on the stone to set the focus there, and slide your finger down slightly to lower the exposure. That last step is the trick most people miss. Phones expose for the whole scene, which means a bright stone often comes out overexposed. Pulling the exposure down one notch restores the detail in the facets and keeps the metal from looking like a white blob.
Angles matter less than you think, but a few reliable ones work. The top-down flat lay, with the ring resting on a textured surface and your hand resting nearby, is a classic for a reason. The three-quarter angle, looking down at about forty-five degrees, shows both the top of the stone and the height of the setting, which is where a bespoke ring's real design lives. The side profile shot, with the ring standing upright on a surface, shows the lines of the band and the setting, and is the angle that best shows off a custom piece. If you want a hand shot, rest your hand loosely on a sleeve or a leaf rather than holding it stiffly in the air; natural poses read better than posed ones.
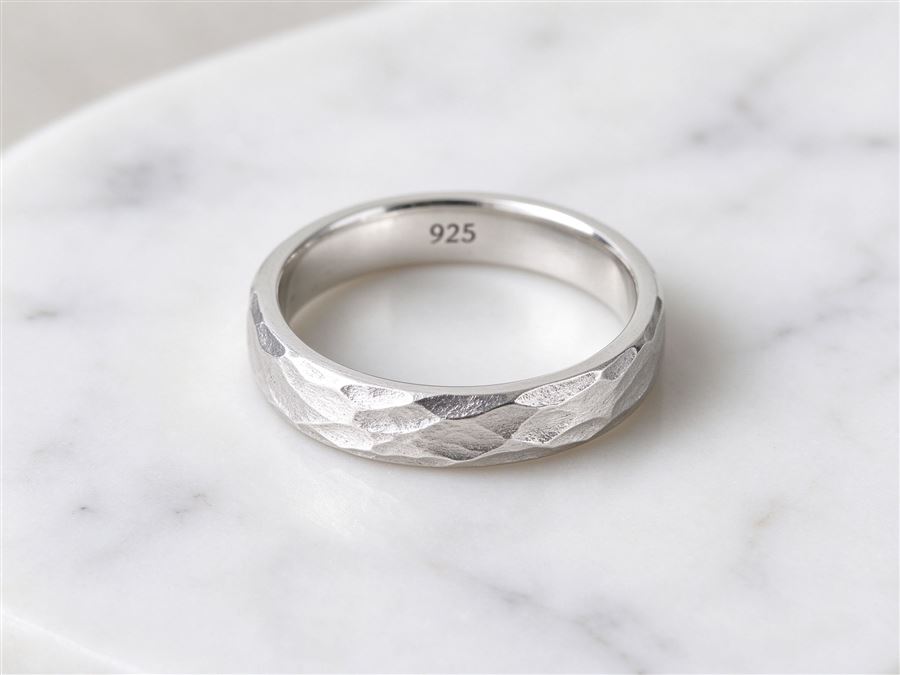
Background choice is the quiet third factor. A ring photographed on a white ceramic plate disappears. A ring photographed on a busy patterned shirt competes. The best backgrounds are simple and slightly textured: a wooden table, a linen napkin, a stone windowsill, a blade of grass. You want something that gives the eye a place to rest without stealing attention. Avoid other jewelry in the frame. A bracelet, another ring, or a watch on the same hand distracts from the piece you are trying to show.
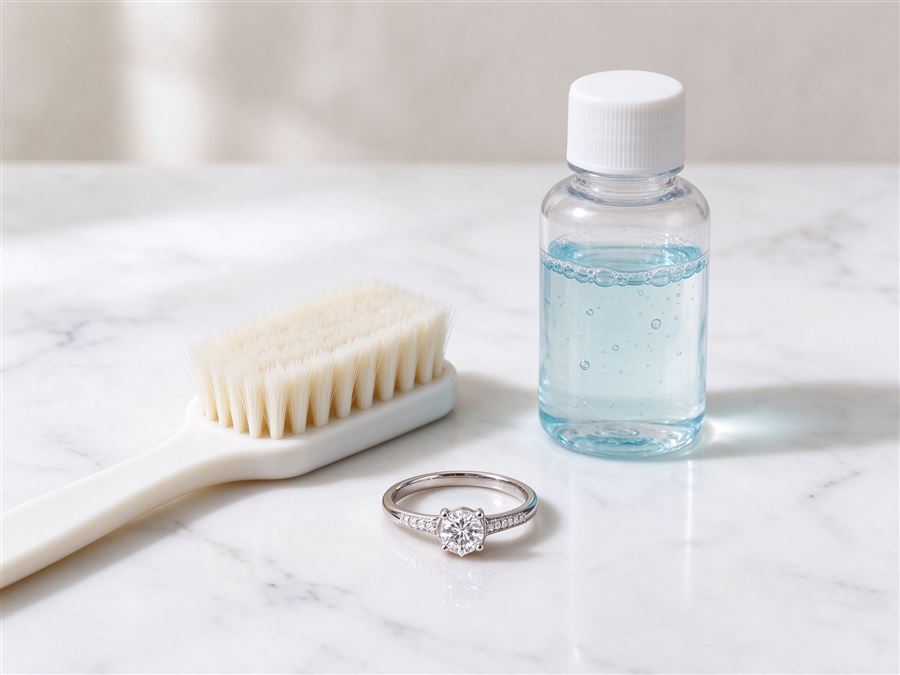
Clean the ring first. This sounds obvious, but it is the step that separates a professional shot from an amateur one. Skin oils, hand cream, and dust all show up under magnification. A minute with warm water, a drop of mild dish soap, and a soft toothbrush, followed by a rinse and a lint-free cloth, will make the stone look like it did the day you picked it up. If you are unsure what is safe, our guide to home jewelry cleaning and care walks through the do's and don'ts. A clean ring is a photogenic ring, every time.
What about the classic champagne flute, flower petal, or ring-on-the-sand shots? They can be lovely, but they are overused and they almost never show the actual ring well. If you want that aesthetic shot for social media, take it, but also take the simple window-light shots that actually show what you are wearing. The detail shots are the ones your family will want to see. If your ring includes a hidden engraving or an interior detail, a top-down close-up of the inside of the band, again in soft window light, is the shot people love. We talk about those kinds of details in hidden details inside the ring, and they are worth capturing before the engraving wears smooth.
Finally, do not over-edit. A slight brightness boost is fine. Heavy filters that warm the image or saturate the color will misrepresent the ring, and you will end up disappointed when people see it in person. The best ring photos look like the ring. If the stone is a soft blue sapphire, the photo should show a soft blue sapphire, not a neon blue. If you want to share it with us, we are always happy to see how the finished piece looks on your hand, months after it left the bench.
A good ring photo takes about ninety seconds of setup: find the window, clean the ring, tap to focus, drop the exposure. The rest is just patience. Your new ring deserves a shot that shows it the way you see it when you glance down at your hand.