Almost every ring photo we see fails in the same way: it is taken indoors, under warm light, at night, by someone excited, holding the ring in their hand. The result is a dark blurry circle with a glare in the middle. The ring itself is gorgeous. The photo is not. The good news is that fixing this takes about ten minutes and no equipment beyond a phone and a window.
Light is everything
The single rule of ring photography is this: use daylight, never indoor light. Indoor tungsten and LED light is warm, uneven, and makes every stone look yellow. Daylight from a north-facing window, on an overcast day, is the professional secret. It is soft, even, and it shows the stone's true color. Direct midday sun is too harsh and creates hot spots. A shaded window on a bright morning is perfect.
Stand with the window beside you, not behind you. Light coming from the side makes the stone pop. Light from behind creates a silhouette. Light from above on a cloudy day is fine. The worst light is a direct overhead bulb, which is why most bathroom counter selfies fail.
Background and surface
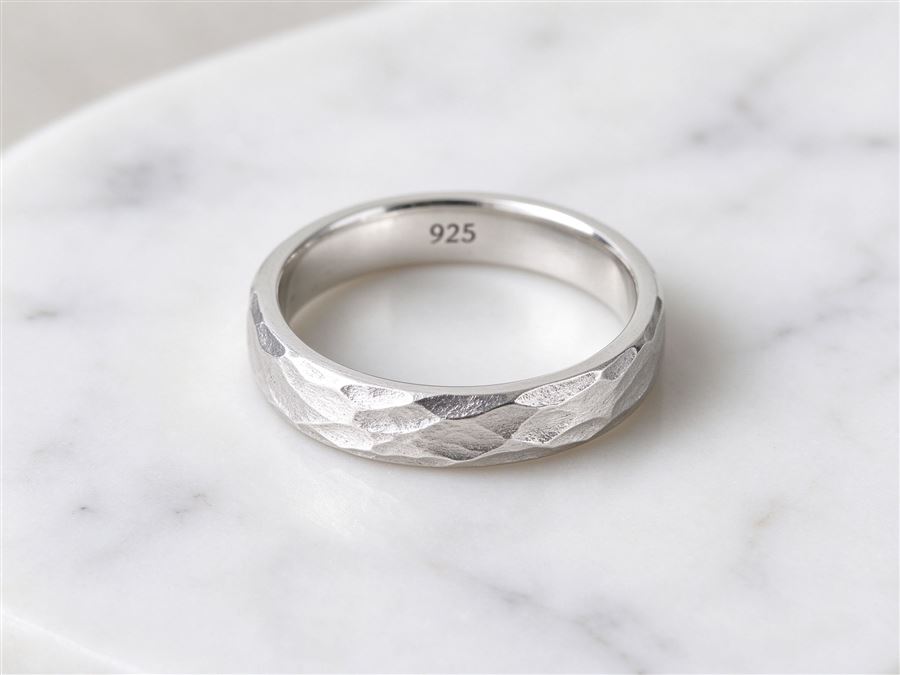
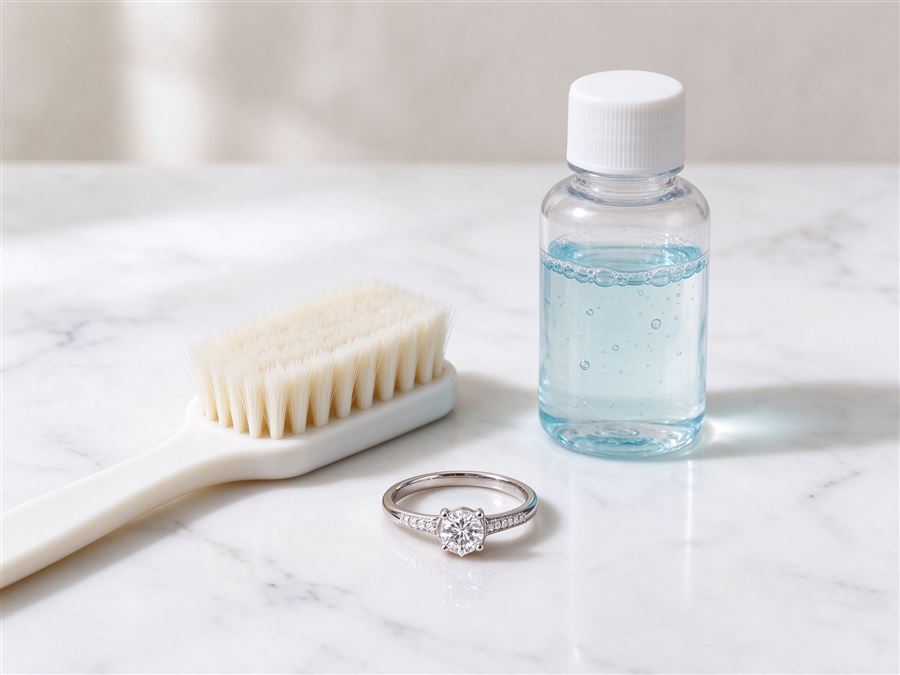
Put the ring on a plain neutral surface. White paper works. A light gray stone tile works. A wooden table can work if the grain is not busy. What you want to avoid is anything shiny, anything patterned, anything that competes. The ring is the subject. Everything else is background.
For a hand photo, keep the hand simple. Bare nails, no nail art, no watch, no other rings. A plain cream or gray sweater sleeve reads beautifully. A busy wristband ruins the shot. We see clients spend weeks planning the proposal moment and then photograph the hand on a flannel shirt with a smartwatch on the wrist. The smartwatch is the first thing everyone notices.
Angle and focus
Shoot from above, straight down, for the detail shot of the stone. Shoot from a 45-degree angle for the shot that shows the profile of the setting. Shoot from the side, very close, for the shot that shows the height of the band. You want three photos, not one, because one angle never tells the whole story.
On a phone, tap the screen on the stone to set focus there. Then tap the little sun icon and drag exposure down slightly. Slightly darker is better than blown-out highlights. A blown-out white blob in the middle of a diamond is the most common mistake, and it happens because people assume brighter is better. A touch of negative exposure gives the stone depth.
What these photos are for
You will use these photos in three ways. First, the reveal. The photo you text to your sister, post to your story, show your mom. That one should be the hand shot, soft, warm, taken in daylight. Second, the insurance and appraisal file. That one should be the straight-down detail shot, with a ruler or a coin beside it for scale, in neutral daylight. We cover the insurance side in detail, but the short version is that your photos are part of the claim record. Third, the memory. Ten years from now you will want to see the ring exactly as it was on the day you said yes. Take the straight-on shot, the side shot, the hand shot, and store them somewhere safe.
The common mistakes
Do not use a flash. Phone flashes blow out the stone and create a harsh reflection. Do not zoom. Phone zoom is digital and it gets grainy. Move closer instead. Do not take the photo in a car. Car windows have tint and reflections. Do not wait until night. The best light is gone by four o'clock in winter. If you are planning a reveal, plan the photo for the morning after the proposal, not at midnight the night of.
Mostly, be kind to yourself. The ring is beautiful. You do not need to produce a magazine shot. You need a clear, well-lit photo that shows what you have. A window, a white surface, a steady hand, and thirty seconds of patience will get you there. The rest is just remembering the moment, and that part you already have.
If you have a macro lens or a phone clip-on lens, use it for the straight-down detail shot. You will pick up the facets and the tiny details of the setting that the phone camera otherwise washes out. If you do not, the regular camera on your current phone is more than enough. The mistake is never the equipment. It is always waiting until night, shooting under a ceiling light, and giving up when the first photo looks wrong. Try again in the morning by the window. The difference is immediate, and the photo you end up with is the one you will actually want to look at for the next decade.